Eskimo Pie popsicle is a classic frozen dessert with a slice of creamy ice cream coated in a thin, crisp layer of chocolate. This delightful treat, invented in the early 1920s, quickly became a favorite for its simple yet irresistible combination, offering a perfect blend of creamy and crunchy textures in every bite.
Why Make Your Own Eskimo Pie Popsicles?
Making your own Eskimo Pie popsicles is a fantastic way to customize your treats with your favorite flavors and ingredients. Mixing in nuts or candies, or using alternative ice cream bases like yogurt or vegan options, homemade versions allow for creative freedom that store-bought ones can’t match.
Overview of the Recipe Steps
Here’s a quick overview of what you’ll do:
- Prepare the Ingredients
Gather your ice cream and coating materials, along with any toppings
- Assemble the Popsicles
Spoon or pipe the ice cream into molds, insert sticks, and freeze until solid
- Dip and Decorate
Once frozen, dip the Eskimo Pie popsicles into melted chocolate and sprinkle with toppings
- Freeze Again
Allow the chocolate to set by freezing the popsicles for a few more minutes before you serve it
Ingredients Needed
To whip up your batch of Eskimo Pie popsicles, you’ll need a few basic ingredients for the core of the treat, along with some optional extras for that personal touch. The magic happens with just a handful of components, turning simple items into a delightful frozen confection.
Main Ingredients
- Ice Cream
Vanilla, chocolate, and strawberry are classics
- Chocolate for Coating
Dark, milk, or white chocolate can be used for coating
- Coconut Oil or Vegetable Shortening
This helps thin the chocolate for a smoother dipping experience
Optional Toppings and Variations
Jazzing up your Eskimo Pies allows you to tailor them to your taste or occasion.
- Nuts
Crushed almonds, pecans, or walnuts add a nice crunch.
- Sprinkles or Mini Chocolate Chips
Perfect for a fun, colorful touch
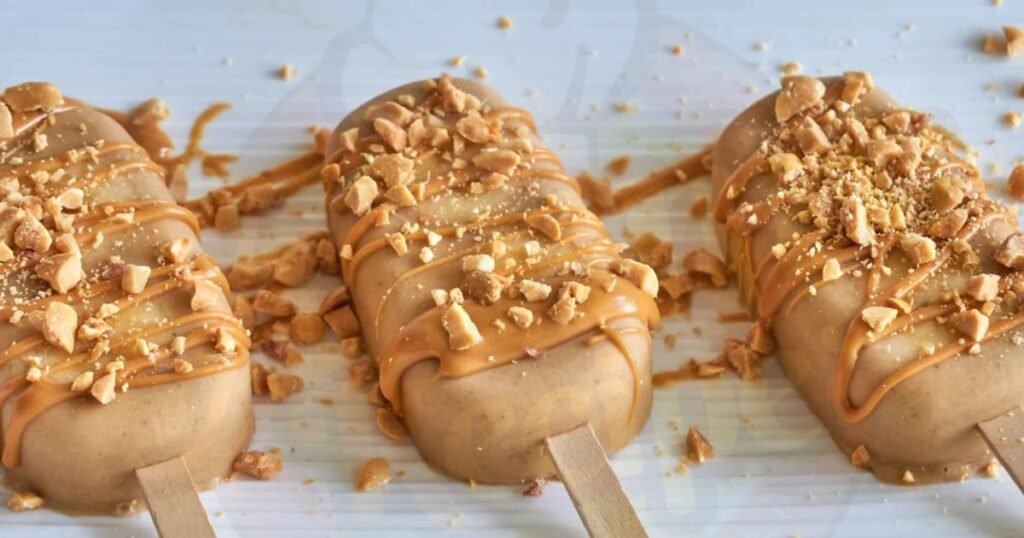
- Caramel or Peanut Butter Drizzle
For an extra layer
Tools and Equipment Required
You don’t need much to get started, but the right tools make the process a breeze:
- Popsicle Molds and Sticks
These shape your ice cream into the perfect pop
- Double Boiler
Essential for melting chocolate smoothly
- Baking Sheet
Lined with parchment paper
Making the Popsicle Base
Creating the base for your Eskimo Pie popsicles starts with choosing your favorite ice cream. You can opt for a store-bought variety or whip up a homemade batch if you’re feeling adventurous.
The key here is to ensure that the ice cream is sufficiently soft to mold but not too melted, as it needs to hold its shape in the popsicle molds.
Once your ice cream is at the perfect consistency, it’s time to prepare it for the molds. This might involve smoothing it out in a bowl to get rid of any ice crystals, ensuring the texture will be creamy and even once frozen.
Flavoring the Base
Flavoring the base of your Eskimo Pie popsicles is where you can let your culinary creativity shine. You can try espresso, mint, or even a tangy sorbet. If you’re using a plain ice cream base, consider infusing it with extracts, spices, or zest to elevate the flavor.
You could also swirl in sauces like raspberry coulis or caramel for a marbled effect that not only looks impressive but adds bursts of flavor with each bite. The goal is to balance the flavors so that no single one overpowers the others, but each enhances the overall taste of the popsicle.
Ensuring Consistency
The consistency of your popsicle base is critical to achieving that classic, creamy texture characteristic of Eskimo Pies. Make sure the ice cream is uniformly soft before mixing in any additional ingredients.
If it’s too hard, you might end up with lumpy popsicles; if it’s too soft, they might not freeze properly. Quick and even mixing helps maintain the right texture from the bowl to the freezer.
Assembling the Popsicles
Prepare your popsicle molds, ensuring they are clean and ready to use. If you’re using a homemade ice cream base or softening store-bought ice cream, it should be just soft enough to scoop easily into the molds without losing its shape.
Spoon or pipe the ice cream into the molds, tapping them lightly on the counter to remove any air pockets and ensure the base is evenly distributed. This step is crucial as it prevents ice crystals from forming and helps achieve a smooth, professional-looking popsicle.
Filling the Molds
by scooping the softened ice cream into each mold, filling them just below the rim to leave room for expansion as they freeze. If you’re adding any larger mix-ins, like chunks of fruit or cookie pieces, layer them in as you fill the molds to distribute them evenly throughout the popsicle.
Smooth the top of each mold with a spatula or the back of a spoon to create a flat surface, which will be important when you dip the frozen popsicles into chocolate. Ensuring the ice cream is evenly spread will also make inserting the sticks easier and more stable.

Inserting Sticks
Once the molds are filled, the next step is to insert the sticks. This should be done carefully to ensure they are centered and straight, which helps them hold up the weight of the ice cream once frozen.
If you’re using a mold that includes slots or guides for sticks, make sure each stick is securely inserted into the designated slot. If your mold does not have any guides, you might need to wait a little while—about 30-45 minutes into the freezing process—before inserting the sticks.
Adding Layers or Toppings
Here are a few ideas to get you started:
- Fruit Layers
Alternate layers of ice cream with pureed fruit for a visually appealing and flavorful twist
- Cookie Crumbs
A layer of crushed cookies halfway through filling the mold for a textural contrast
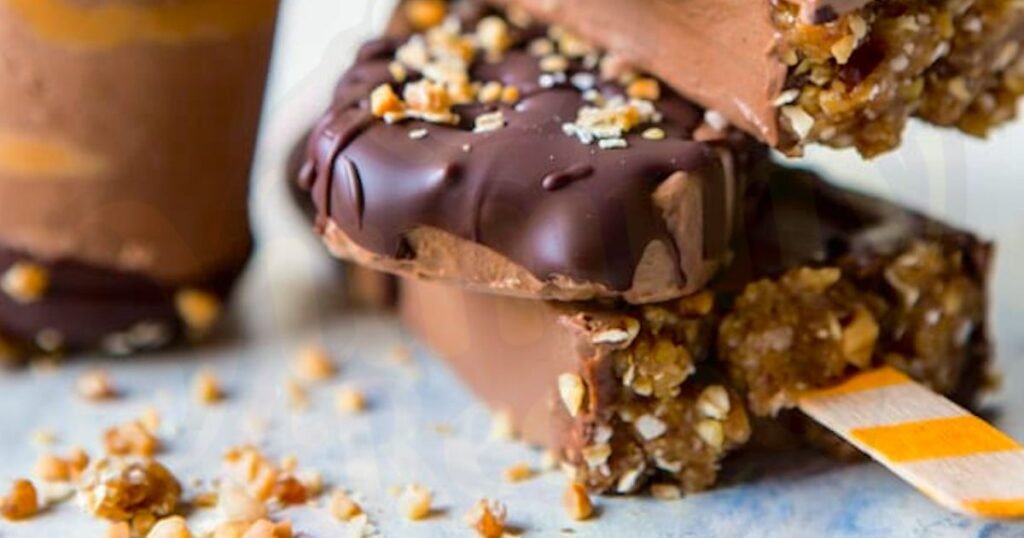
- Nut Butter Swirls
Swirl in some peanut or almond butter before freezing for a decadent flavor
- Chocolate Chips or Cocoa Nibs
Sprinkle into the molds before adding ice cream for a surprise crunch
Freezing the Popsicles
Once your Eskimo Pie popsicles are assembled, it’s crucial to freeze them properly to ensure they are set correctly and maintain their shape and texture. Freezing should be done at a consistent, low temperature to prevent ice crystal formation, which can affect the smoothness of your popsicles.
Optimal Freezing Techniques
- Consistent Temperature
Set your freezer to its lowest setting to ensure a quick and even freeze
- Avoid Overcrowding
Space the molds apart to allow for ample air circulation
- Cover the Molds
Foil or plastic wrap protects from absorbing any odors
Time Required for Proper Freezing
The time it takes to properly freeze Eskimo Pie popsicles can vary depending on the size of the molds and the temperature of your freezer. It usually takes about 4 to 6 hours for popsicles to freeze solidly. Planning to leave them overnight is a good rule of thumb to ensure they’re completely set and ready for dipping in chocolate.
Checking for Readiness
To check if your popsicles are ready, gently tug on a stick. If it feels firm and the popsicle releases easily from the mold without bending or breaking, it’s ready to be removed. If the stick wiggles or the ice cream feels soft, give it more time.
Serving and Storing Eskimo Pie Popsicles
Once your Eskimo Pie popsicles are frozen solid, the next steps are all about serving them up for a delightful treat or storing them properly for future enjoyment. Handling them correctly ensures they maintain their quality and texture.
Unmolding the Popsicles
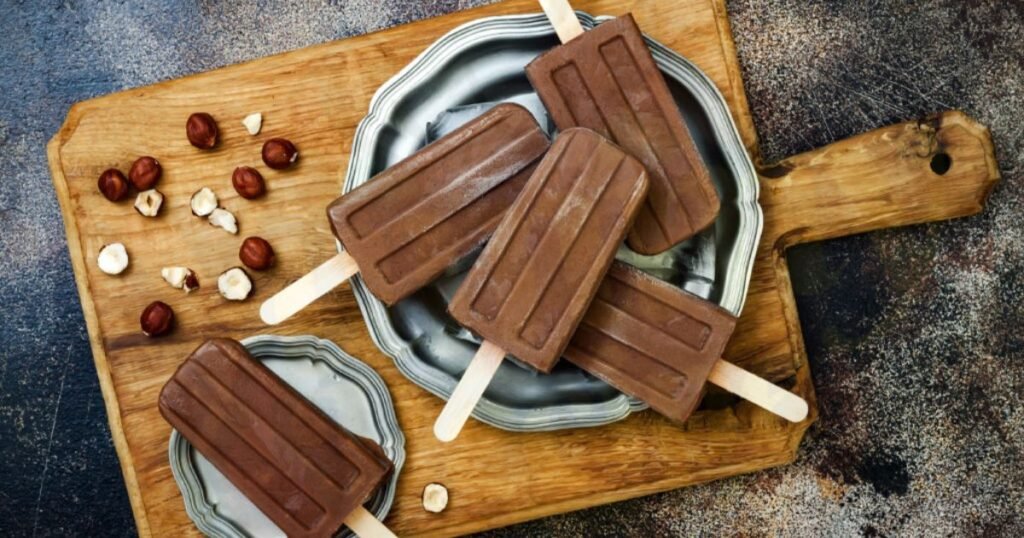
Run the outside of the molds under warm water to loosen them. This slight warmth helps release the popsicles without melting them. Gently pull on the stick; if the popsicle doesn’t release immediately, run it under the water for a few more seconds and try again.
Serving Suggestions
Here are some fun ways to serve them:
- With Toppings
Sprinkle with nuts or coconut flakes before the chocolate sets
- Dipped in Chocolate
Quickly dip each popsicle in melted chocolate and let it harden
- As a Dessert Feature
Serve alongside a small bowl of fresh fruit or a shot of espresso
Storage Tips
Proper storage is key to preserving the freshness and texture of your popsicles:
- Wrap Individually
Wrap each popsicle in wax paper or plastic wrap
- Use an Airtight Container
Place the wrapped popsicles in an airtight container
- Consume Within Two Weeks
For the best quality, enjoy your popsicles within two weeks of making them
Variations and Customizations
Eskimo Pie popsicles offer a fantastic canvas for culinary creativity, allowing you to tweak flavors, adapt to dietary needs, and experiment with presentation. This flexibility makes them a favorite for both everyday treats and special occasions.
Alternative Flavors
Switching up the flavors can transform the basic Eskimo Pie popsicle into something uniquely delicious.
- Coffee or Mocha
Blend cooled espresso or coffee into the ice cream base for a caffeinated kick
- Fruit Infused
Mix in pureed berries, mango, or passion fruit for a tangy twist
- Spiced Up
Incorporate spices like cinnamon for a warming effect
Dietary Modifications
Adapting your popsicles to meet various dietary requirements can make them a hit:
- Vegan
Use coconut milk or almond milk-based ice creams
- Low Sugar
Sugar-free ice cream and dark chocolate with a high cocoa content
- Gluten-Free
Ensure all ingredients, especially mix-ins like cookies or brownies, are gluten-free
Creative Presentation Ideas
The final presentation can make your Eskimo Pie popsicles even more appealing:
- Edible Sticks
Use cookie sticks or candy canes for a fun twist
- Layered Looks
Create layers with different colored ice creams or chocolate
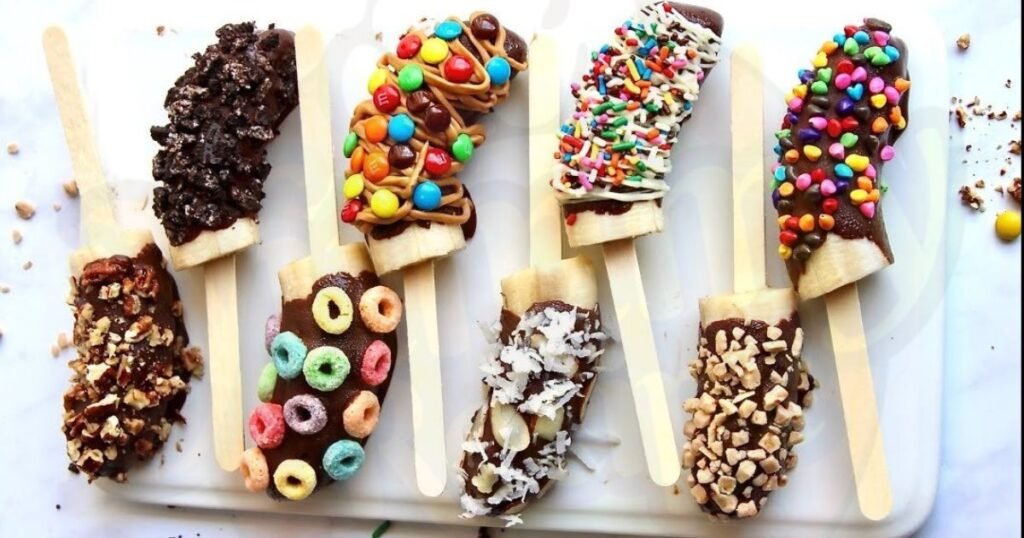
- Decorative Toppings
Dust with edible glitter or colored chocolate for a touch of elegance
Tips and Tricks for Perfect Popsicles
Achieving the perfect Eskimo Pie popsicle is an art that combines careful preparation with creative flair. Knowing a few insider tips and tricks can help ensure your popsicles are always a hit, with the ideal texture and burst of flavor.
Avoiding Common Mistakes
A few common pitfalls can hinder your popsicle perfection, but they’re easy to dodge with these tips:
- Overfilling Molds
Leave a small space at the top of each mold
- Inconsistent Freezing
Set your freezer to the lowest stable temperature
- Rushing the Freezing Process
Allow enough time for the popsicles to fully set, avoiding the temptation
Enhancing Flavors
To make your Eskimo Pie popsicles truly memorable, follow these tips:
- Use High-Quality Ingredients
Opt for premium ice cream and chocolate for richer flavors
- Add Extracts and Zests
A dash of vanilla extract or citrus zest can significantly enhance the base flavors
- Toast Your Add-Ins
Lightly toasting nuts or coconut flakes can deepen their flavors before adding them to your mixture
Making Popsicles Creamier or Icier
The texture of your popsicles can vary from creamy to icy, depending on your preference:
- For Creamier Popsicles
Use full-fat ice cream or ingredients like heavy cream or full-fat yogurt into your base to enrich the texture
- For Icier Popsicles
Increase the water content by adding fruit juices or purees, which will freeze harder and provide a more refreshing bite
Frequently Asked Questions
Can I make vegan Eskimo Pie popsicles?
Absolutely, use plant-based ice cream.
Are there any quick-fix toppings I can add for extra flair?
Yes, sprinkles and crushed nuts are great additions.
What type of chocolate is best for coating Eskimo Pie popsicles?
Dark or milk chocolate that’s formulated for melting works best.
How long do I need to freeze the popsicles before they are ready?
Generally, freezing for about 4-6 hours, or overnight, ensures they are fully set.
What can I do to prevent ice crystals from forming on my popsicles?
Ensure the popsicle mixture is cold before freezing and the freezer is at a constant temperature.
Final Thoughts
Making your own Eskimo Pie popsicles is a delightful culinary adventure that combines the joys of creativity with the satisfaction of enjoying a homemade treat. Whether you stick with classic flavors or experiment with new combinations, the process is as rewarding as it is delicious.
By making these popsicles at home, you not only get to tailor the ingredients to suit your taste but also ensure a healthier option devoid of preservatives commonly found in store-bought versions. The versatility of Eskimo Pie popsicles makes them a fantastic treat for any occasion, from family gatherings to summer parties.
The ability to customize everything from the ice cream flavors to the chocolate coatings and toppings adds a personal touch that store-bought versions simply cannot match. As you perfect your Eskimo Pie popsicles-making skills, you’ll find that each batch gets better. With each popsicle, you refine the art, making every subsequent batch a greater success.
Embrace the joy of sharing these Eskimo Pie popsicles with friends and family, and watch as they become a requested favorite at gatherings. Not only are they a delicious treat, but they also spark conversation and create fond memories, one frozen delight at a time.

Mark Edward is a skilled chef with Five Years of experience as a Chef Master. He creates innovative dishes and shares his culinary expertise on his popular recipes website, inspiring home cooks with creative, flavorful, and easy-to-follow recipes.
